Brushless Motor Model
The future of motors is brushless. Lets's start teaching them.
Materials
- 5/16 inch carriage bolt or other full thread bolt about 3 inches long
- 6 5/16-inch nuts
- 3/4 inch square of wood or plywood approximately 4 inches x 4 inches
- 5/16 inch drill bit
- 1 inch Forestner bit (or alternatively rubber feet)
- Hammer
- Plastic bobbin like this
- Enamelled magnet wire (something around 28 to 30 gauge is fine) like this
- Bobbin winder from a sewing machine or a standalone bobbin winder like this
- Electrical tape
- 7/32 inch (approximately) drill bit
- Small piece of wood or plastic approximately 1/2 inch by 1 1/2 inch with two holes 1 inch apart, center to center. One hole is 5/16 inch diameter and the other hole is 7/32 inch.
- 1 inch panhead #12 (or around 7/32 inch in diameter or smaller) screw (preferably plastic, brass, or non-magnet stainless steel).
- Matching (same size as above) nut
- Matching screwdriver (flat head or Phillips as above)
- Fine sandpaper
- Fidget spinner (full size) like this
- Flat head screwdriver
- 3 ceramic disk magnets about the same size or smaller than the bobbin
- transparent tape
- power supply (4 to 6 V is good) I like this one
- 3 alligator clips
- 1 magnetic leaf switch like this one
Construction
Setting up the platform
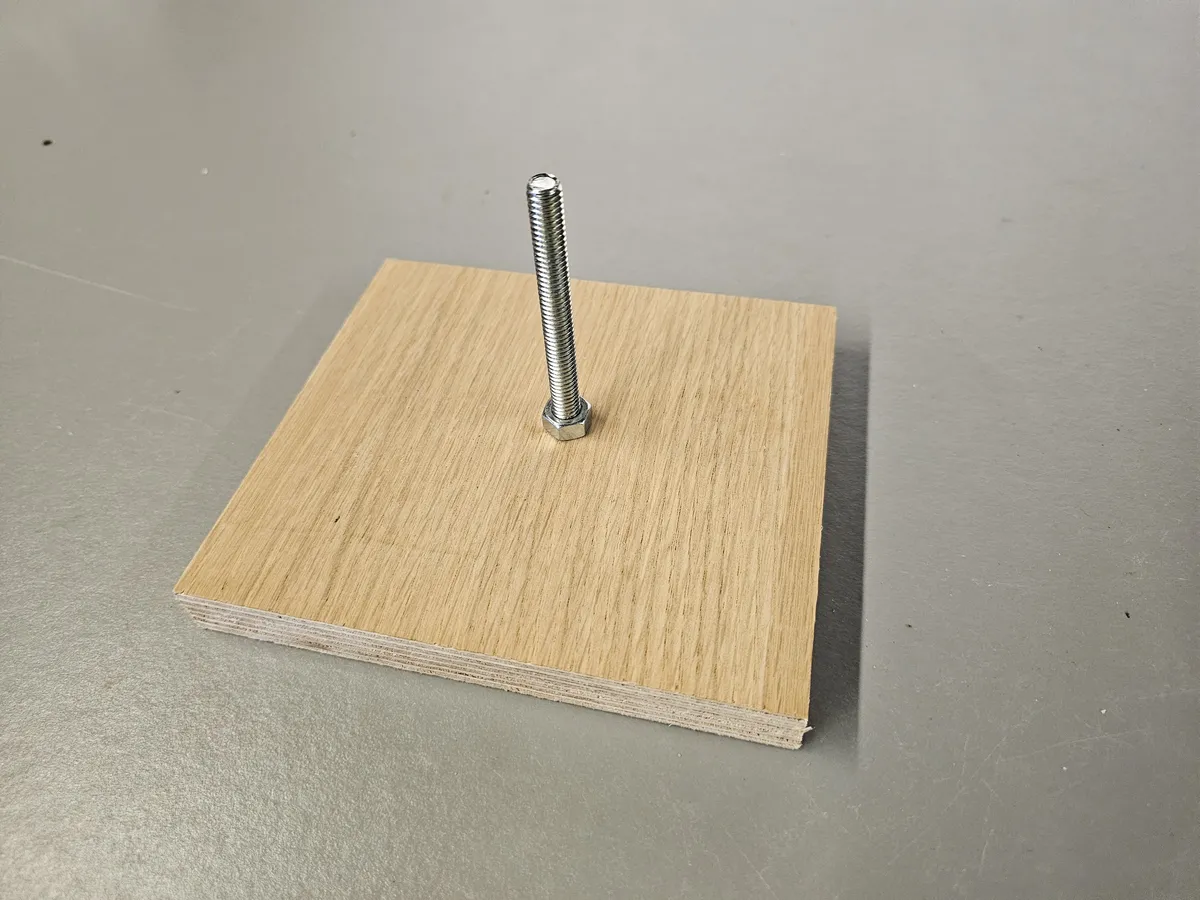
- Drill a 5/16 hole in the middle of the wooden square.
- Use the Forestner bit to drill around the hole to make a recess for the head of the carriage bolt.
- Hammer the carriage bolt into place.
- Alternatively, skip the Forestner bit and just hammer the bolt into place. The round head will stick out. No problem, add four rubber feet that are thicker than the head of the bolt.
- Screw one of the 5/16 inch nuts down the wooden square. You don't have to make the bolt very tight.
Making the solenoid using the bobbin
- Slide about four inches of enamelled wire through a small hole on the bobbin. Place the bobbin on the bobbin winder and following the winder's instructions, wind the bobbin until it is mostly filled with wire.
- Wrap piece of electrical tape around the wire to hold it in place. Make sure both wires end up on the same side.
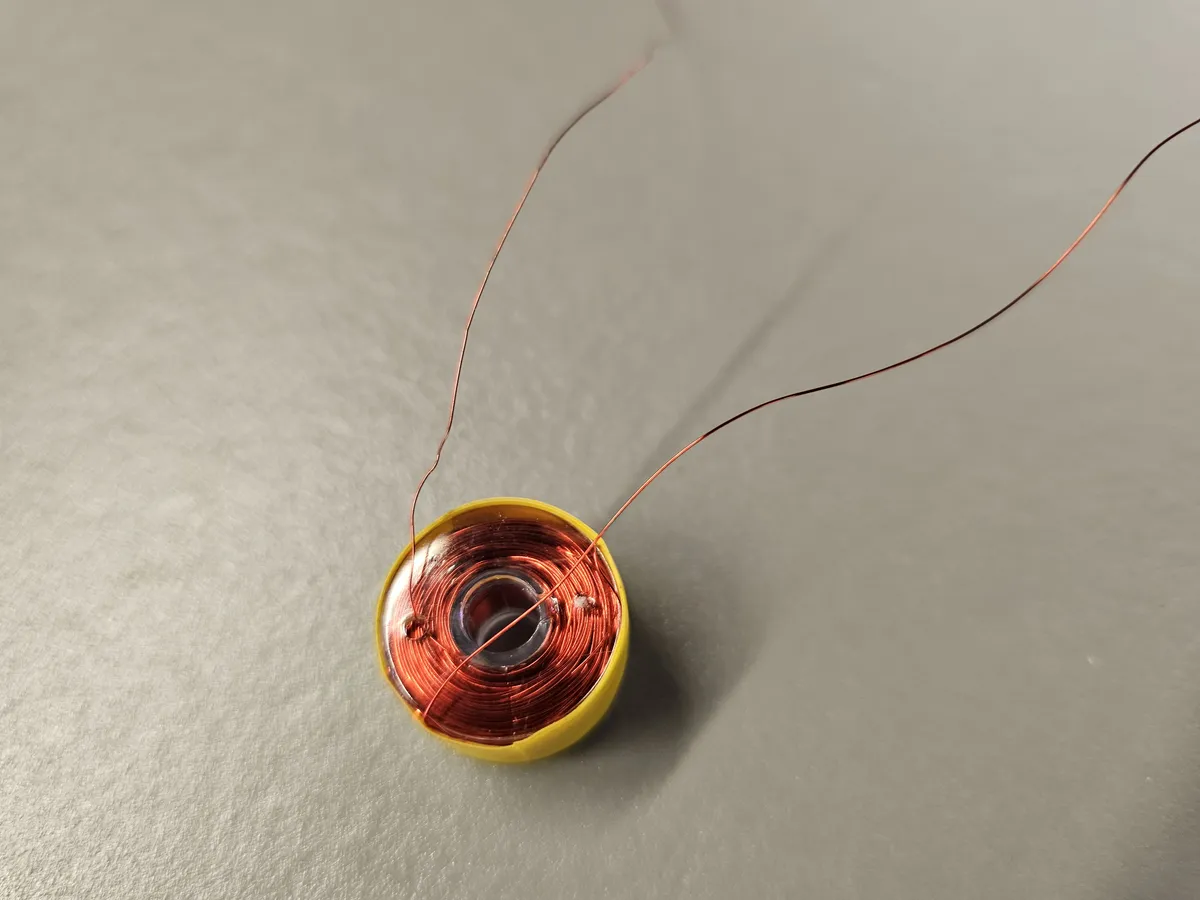
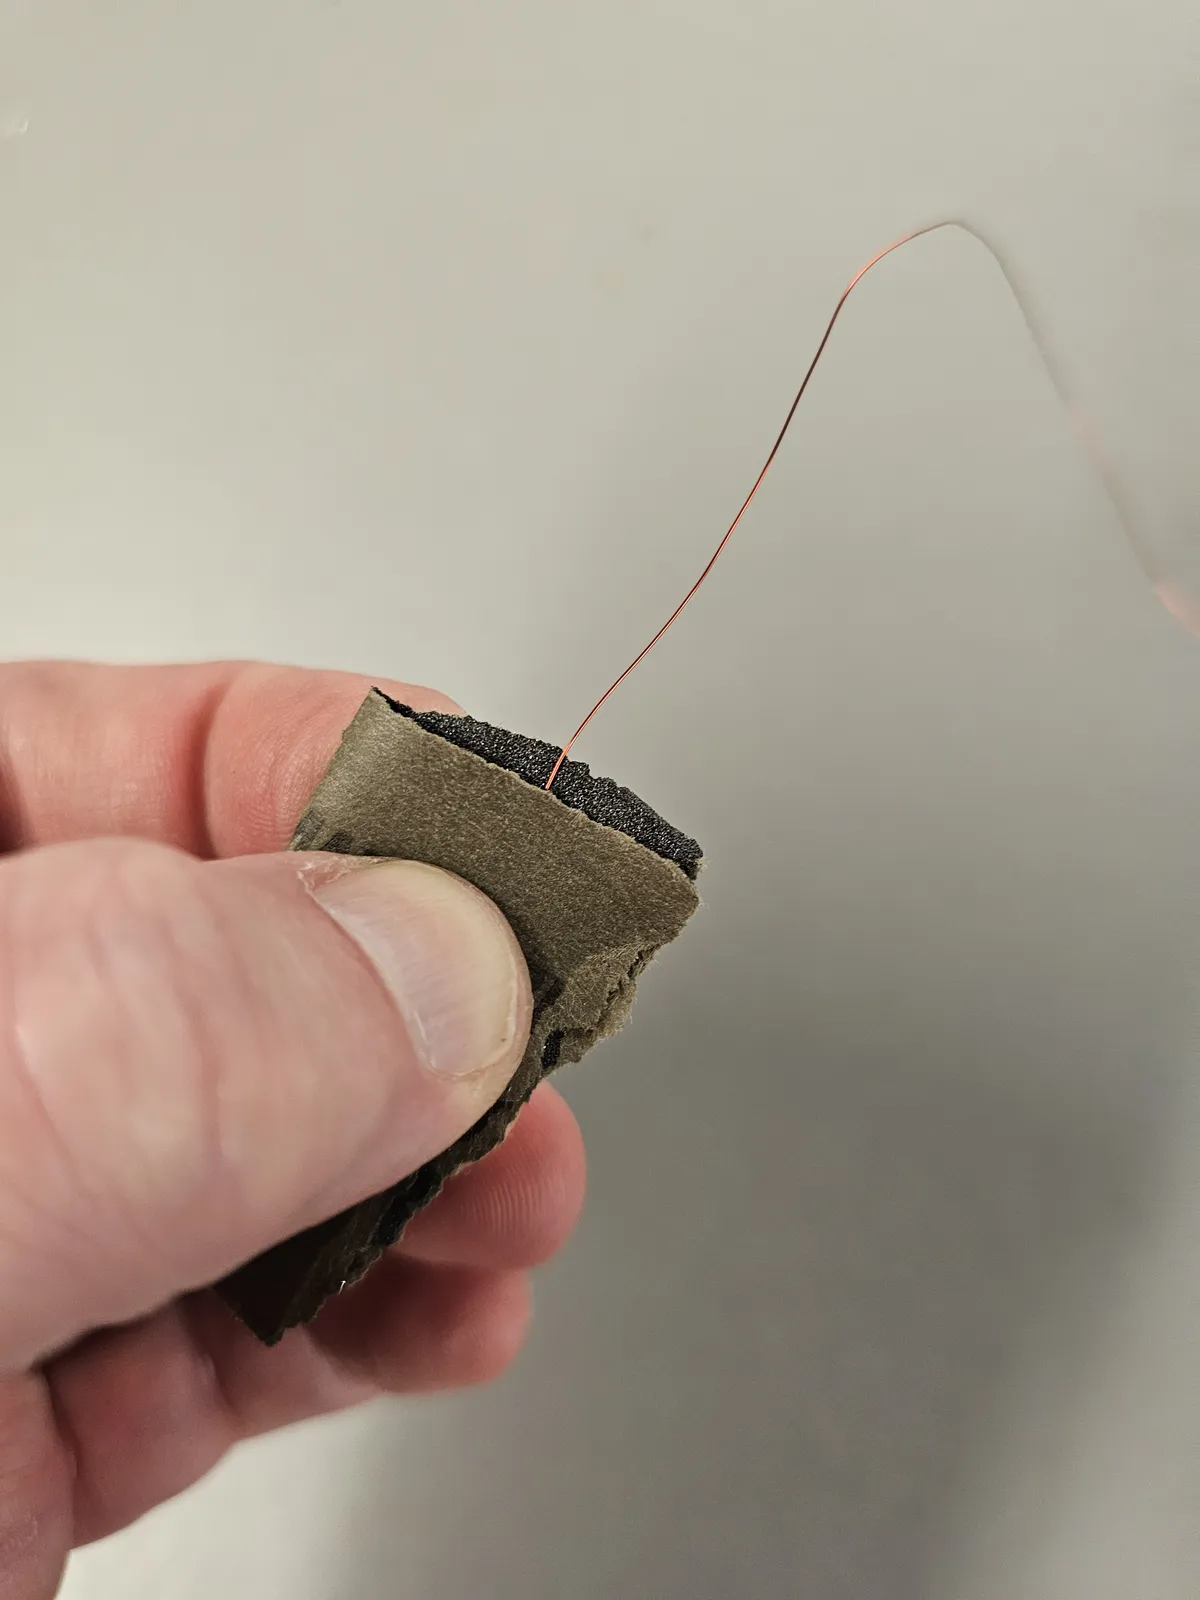
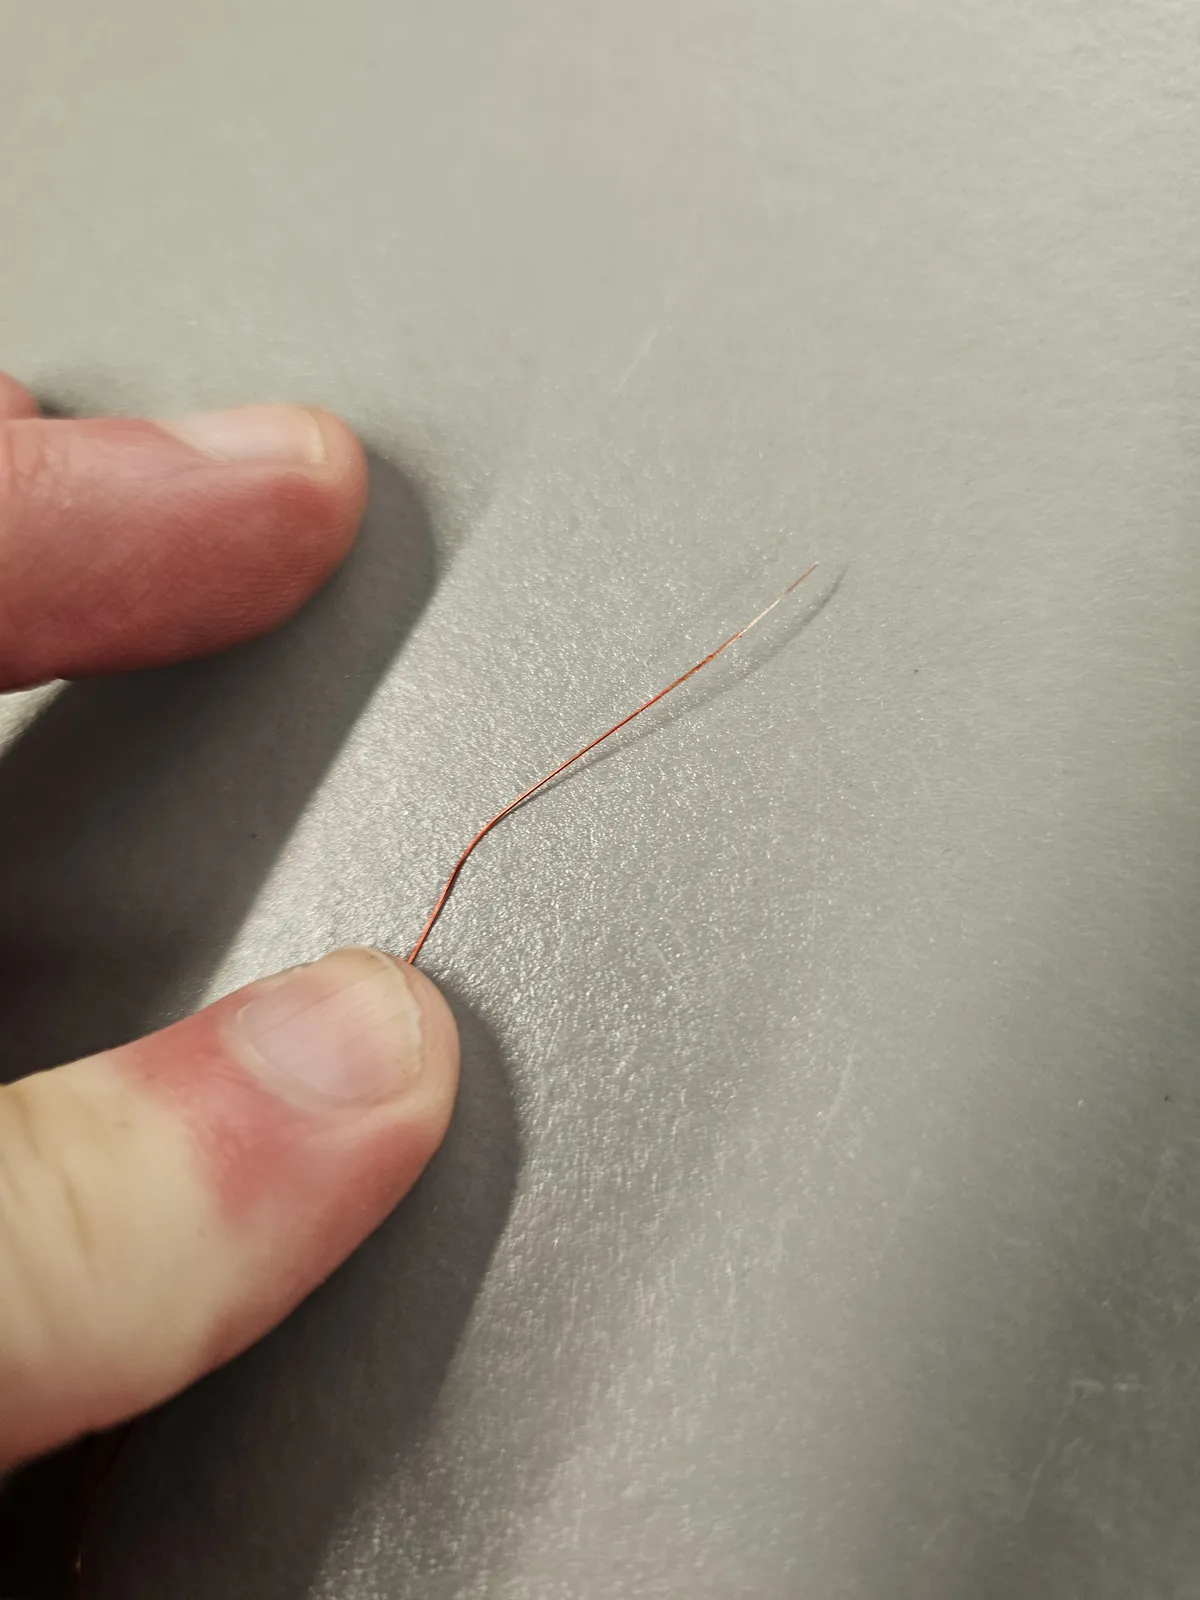
- Use the sandpaper to sand the enamel off each end. You'll notice a small change in color.
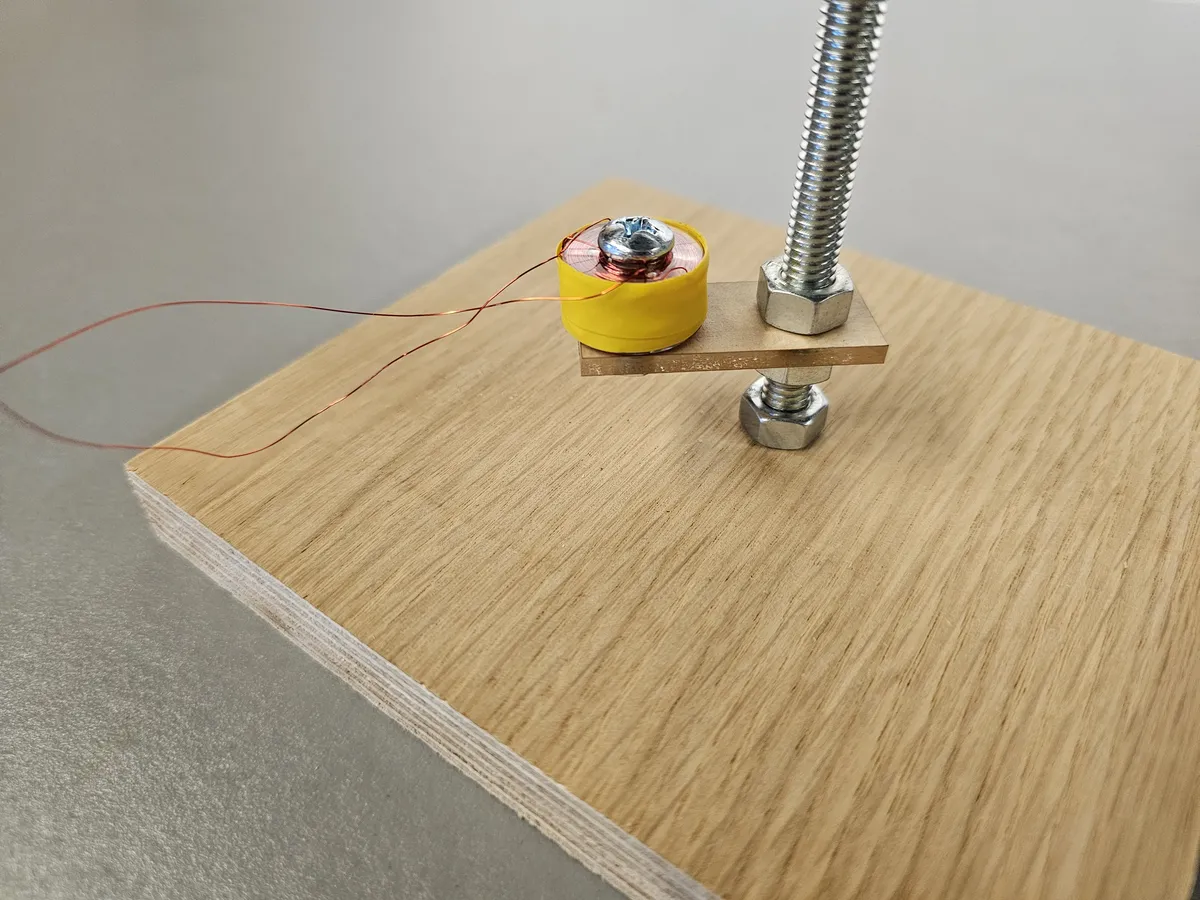
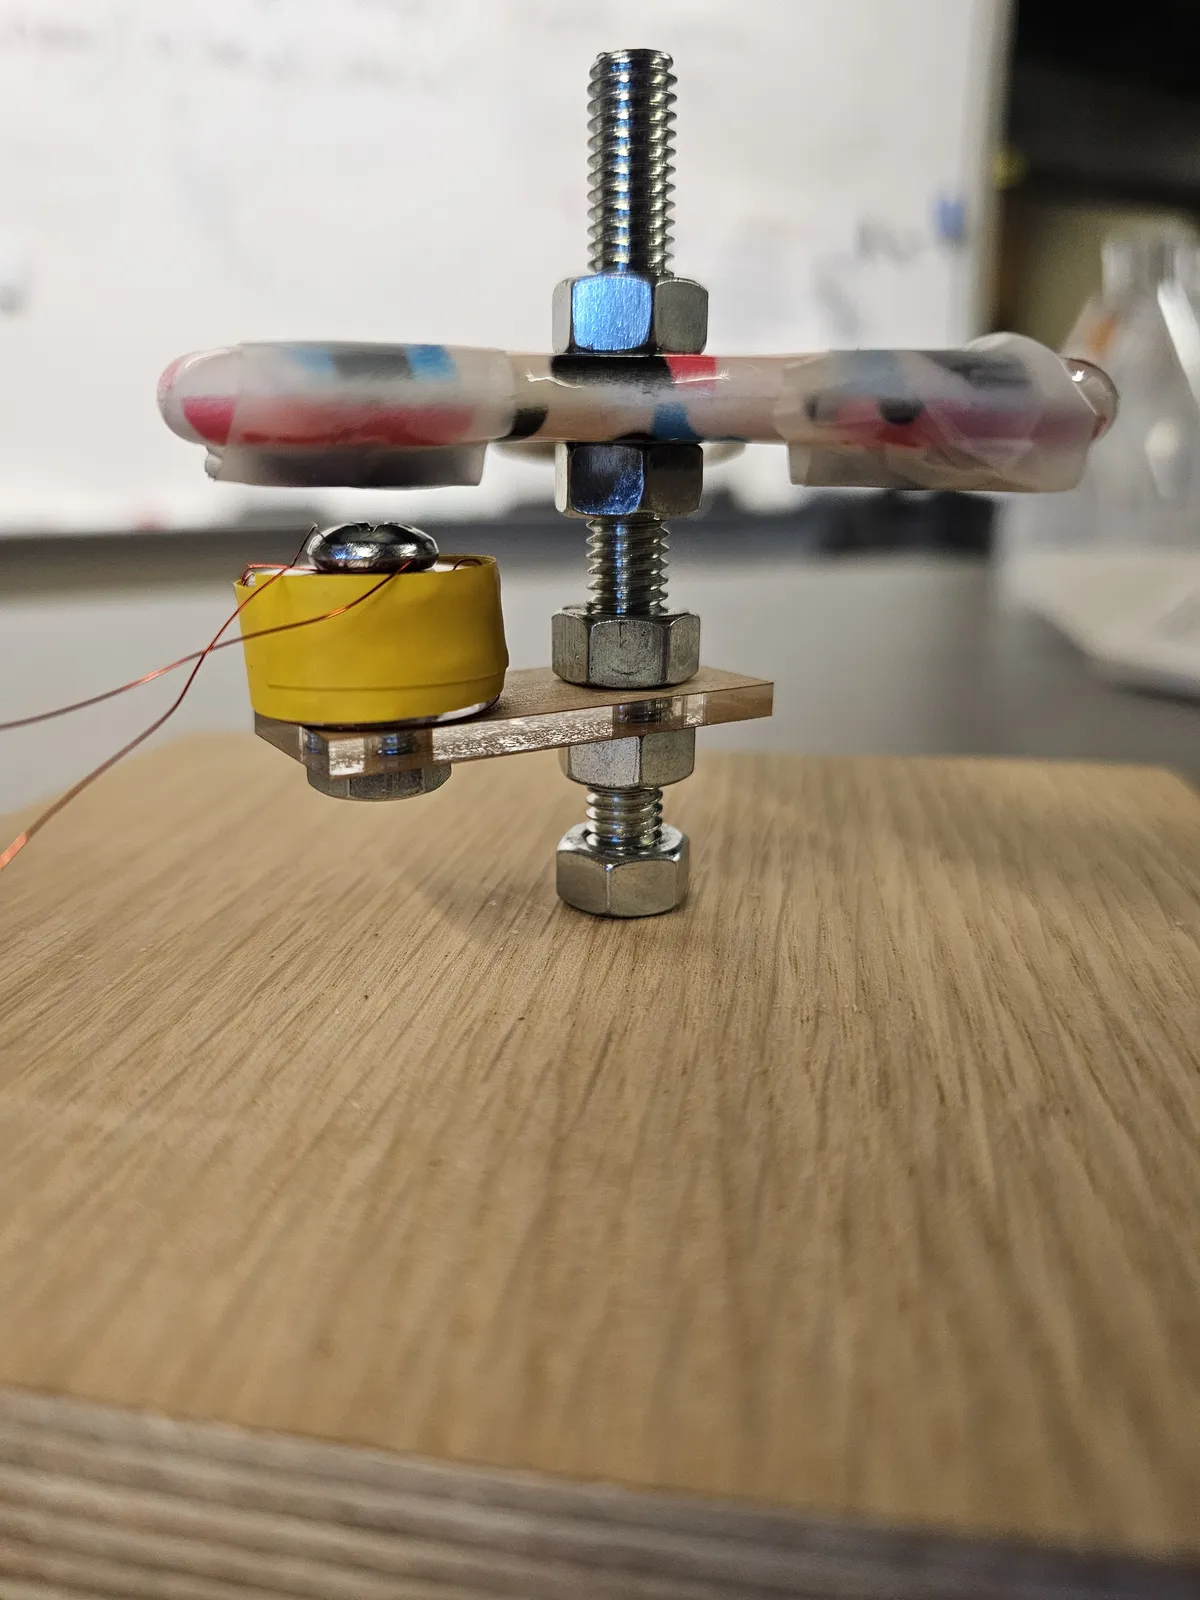
- Push the plastic screw through the bobbin. Slide the wooden rectangle over the screw and tighten the nut over the plastic screw.
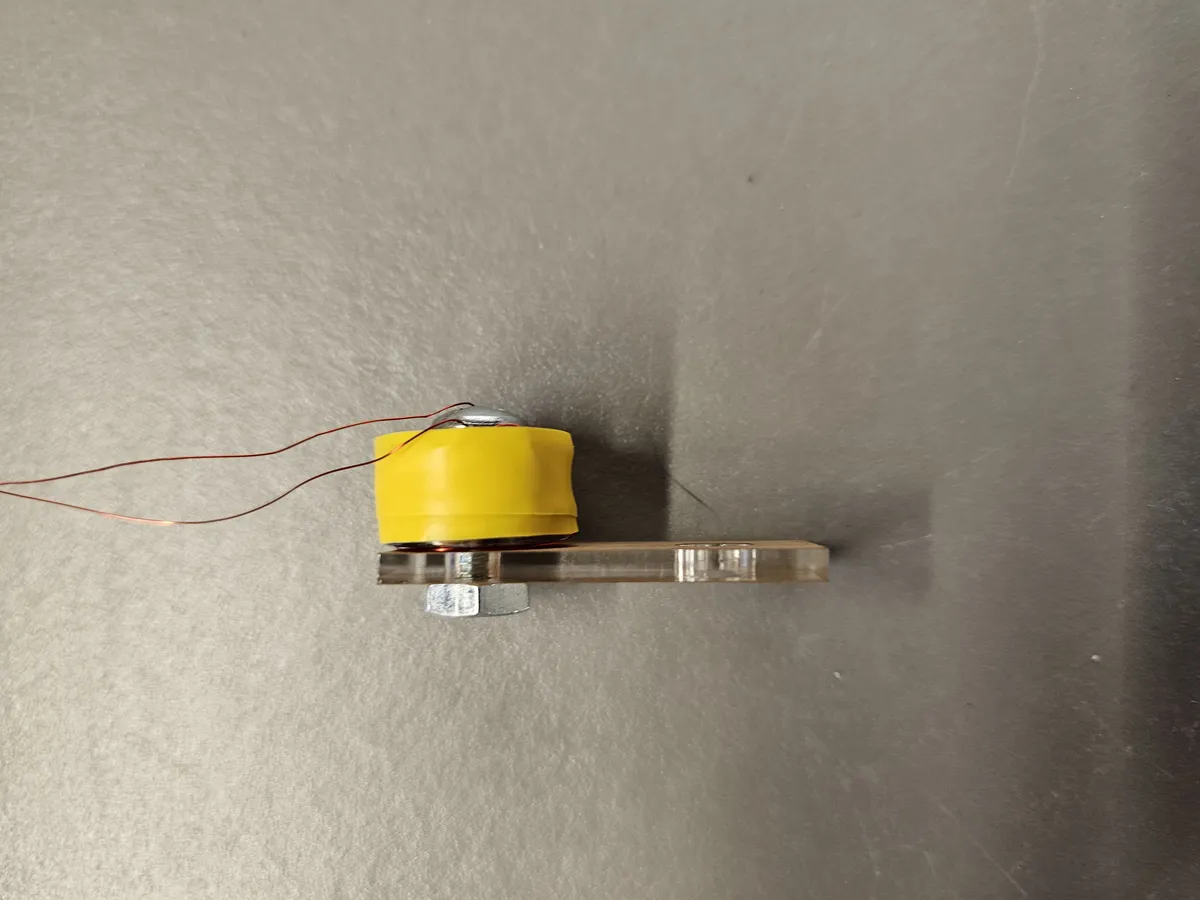
- Add a nut to the carriage bolt. Using the larger hole on the wooden rectangle, slide the wooden rectangle down to the nut. Add another nut over the carriage bolt and tighten in place.
Attaching the fidget spinning rotor
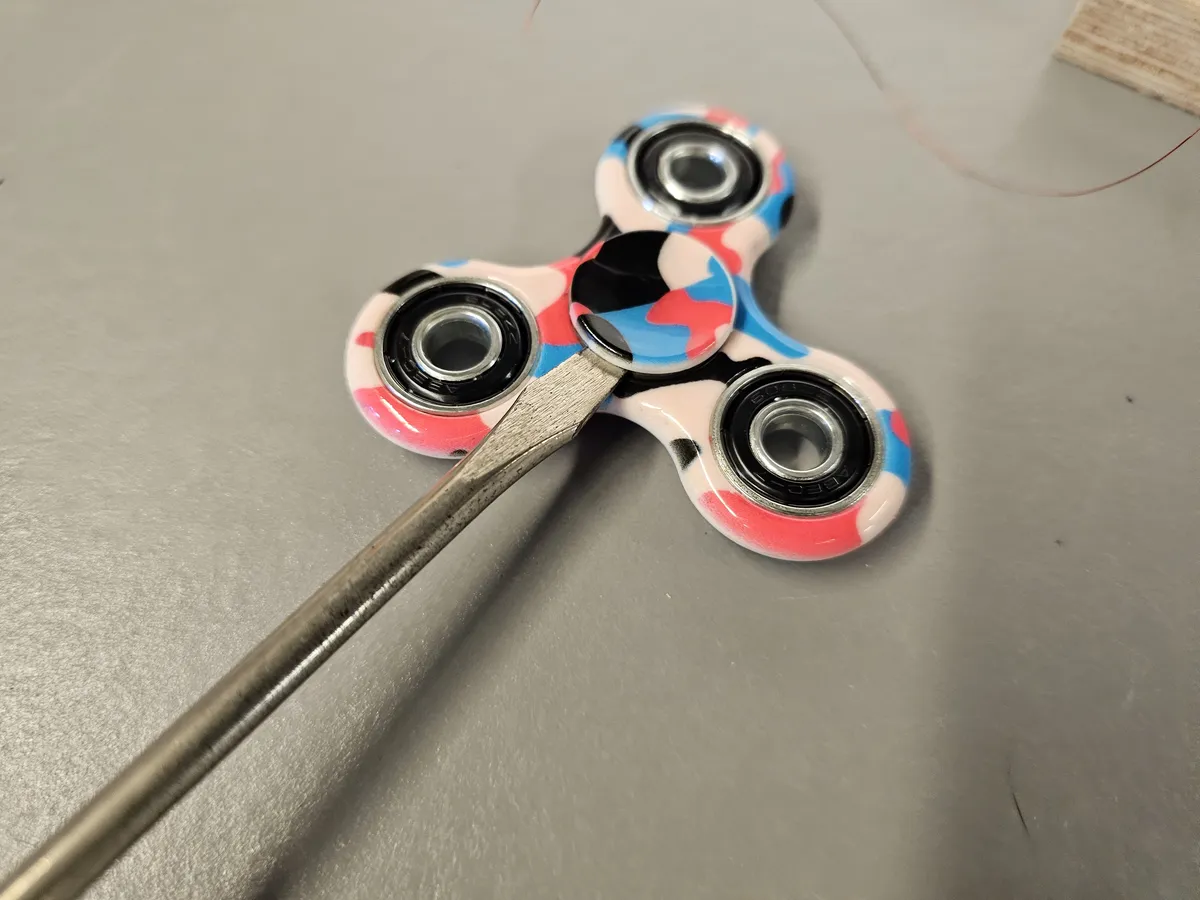
- Remove the covers around the center bearing of the fidget spinner using the flat head screwdriver.
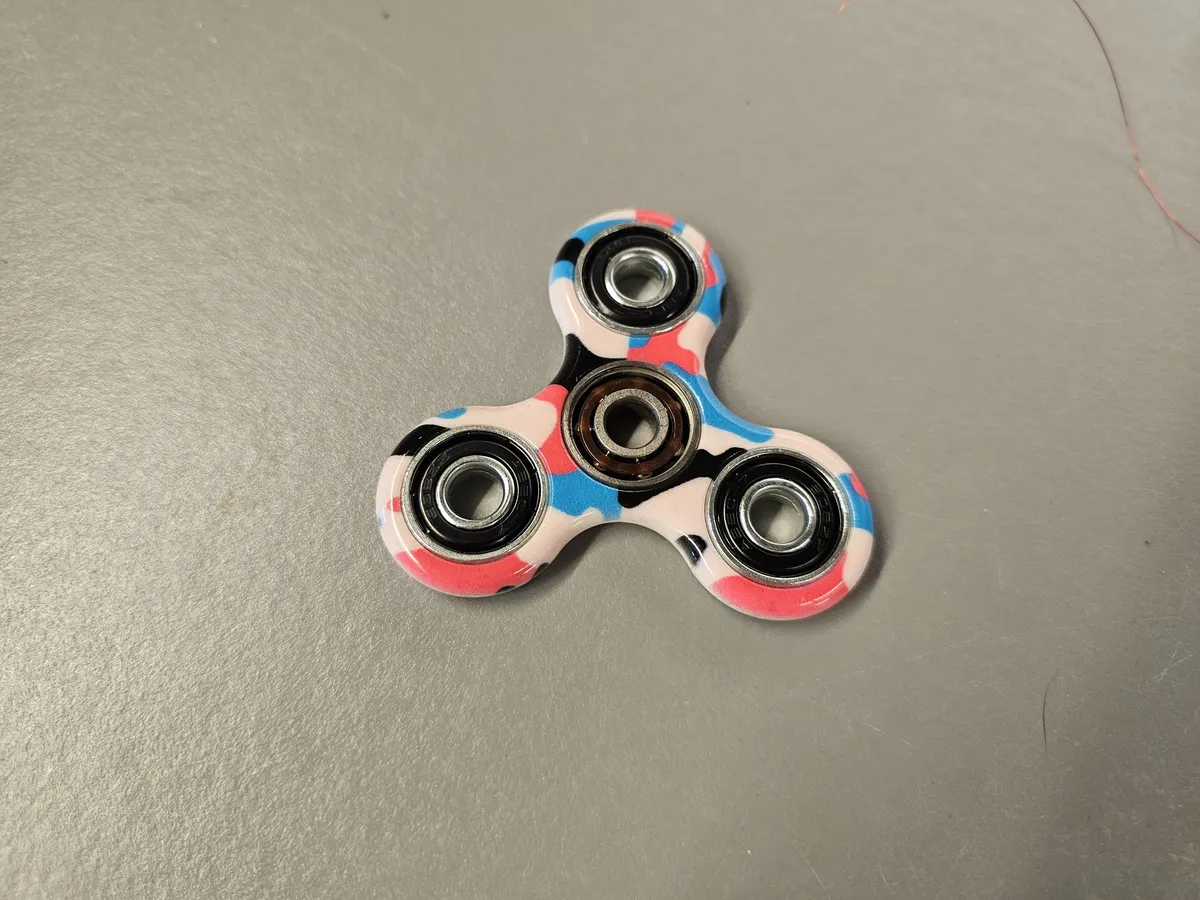
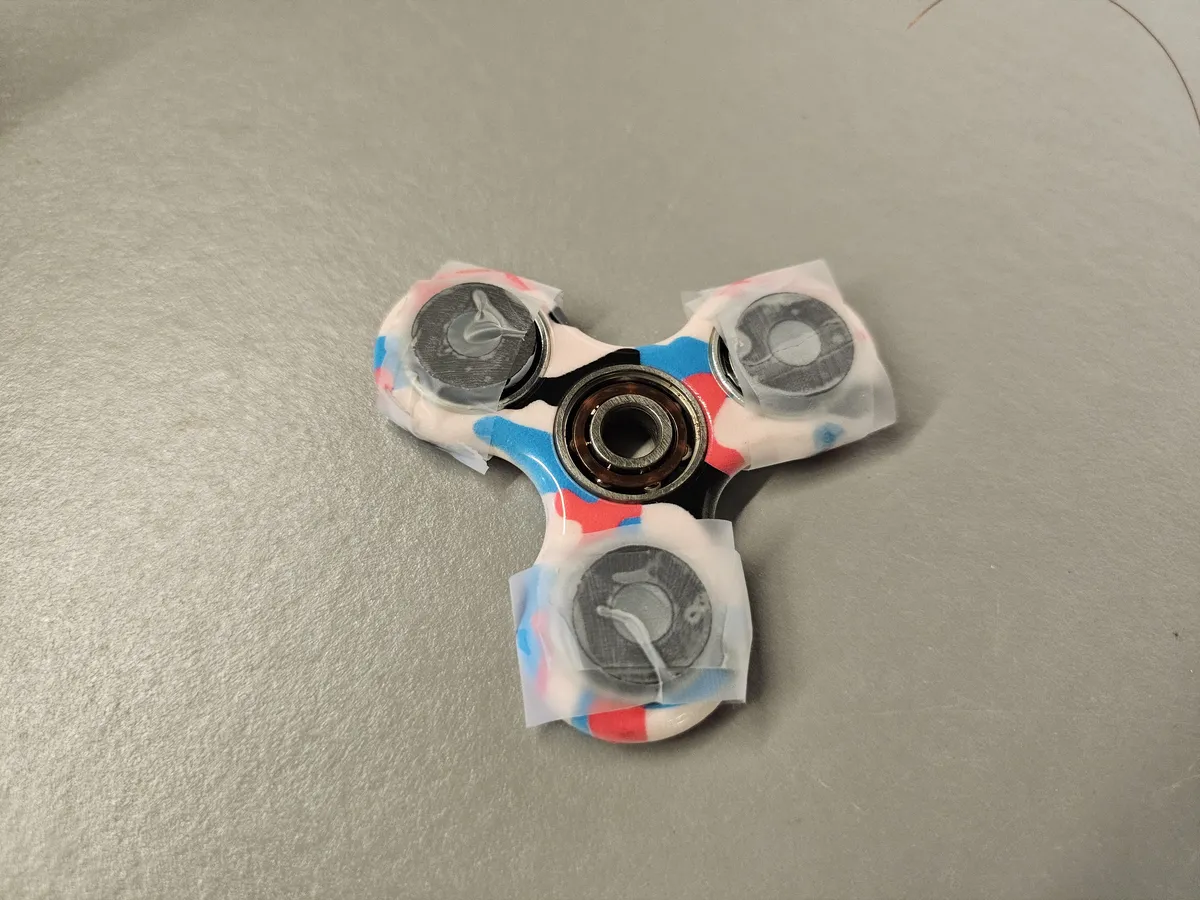
Stick the magnets to the three outer lobes of the fidget spinner so that the north poles all face perpendicular to the plane of the fidget spinner.
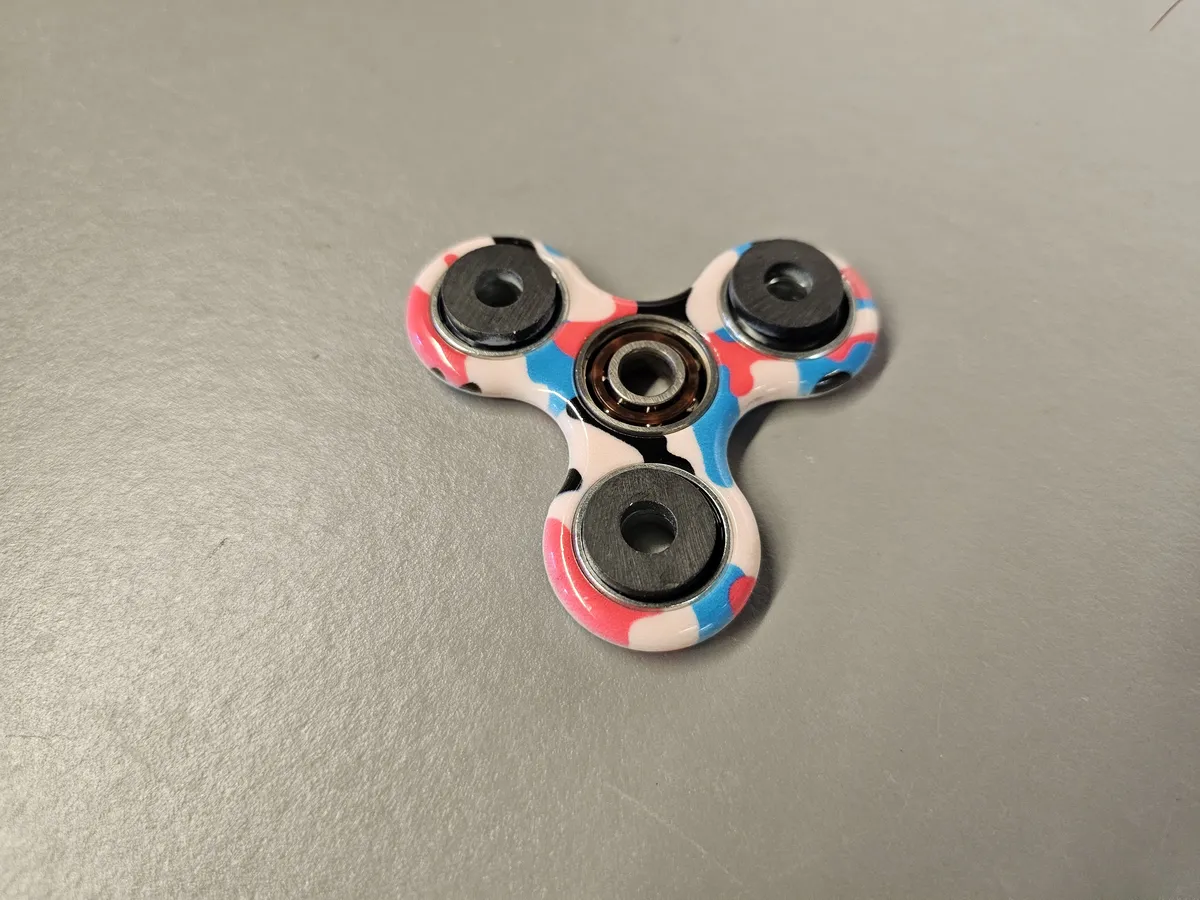
Add transparent tape to hold the magnets in place.
With the magnets facing down, slide the fidget spinner down the carriage bolt until it rests on the nut on the carriage bolt. Adjust the nut up and down so that the magnets on the fidget spinner are a few millimeters above the solenoid. Add another nut to the carriage bolt to hold in place.
To Do and Notice
- Attach the alligator clips to the magnet wire that wraps around the bobbin. It can be a little finicky to attach an alligator clip to magnet wire since magnet wire is so thin. Check to make sure the connection is made.
- Connect the alligator clips to the power supply and turn on. The rotor (the fidget spinner) might turn. Give the rotor a little nudge and see how it moves.
- Reverse the alligator clips so that the current is moving in the opposite direction through the coil. Does the rotor behave the same?